Planning Your Event Photo Experience: A Practical Timeline
Putting together the photo elements for a wedding, mitzvah, or large party takes more thought than many couples expect. The process goes beyond choosing a backdrop or picking a frame style. A well-orchestrated photo experience fits the flow of the evening and encourages guests to participate naturally. This timeline walks through the key checks to make as you coordinate with vendors, your venue, and your own schedule.
Start with the Reception Timeline
The photo setup cannot run on its own schedule. It must weave into the evening’s sequence: cocktail hour, formal introductions, dinner, speeches, dancing, and any planned surprises. Meet with your event planner or venue coordinator early and map out when the photo area will open and close. Decide whether you want it running during cocktail hour, only after dinner, or for the entire evening. Each choice affects how many guests can visit and what kind of prints or digital files you end up with.
Once you have a draft timeline, share it with your photo provider. They need to know setup windows, peak moments when the area should be fully staffed, and any gaps when the photo station might be idle because guests are seated for a meal or watching a ceremony. A clear timeline prevents the awkward situation where the photo area is dismantling while guests are still looking for it.
Custom Overlay and Print Layout Details
The design that appears on each print matters more than most people realize. It is the first thing guests see when they pick up their keepsake, and it carries the event’s visual identity. Work with your provider to create a custom overlay that includes the couple’s names, the event date, and perhaps a short message or a monogram. The print layout should leave enough room for the photo itself while keeping the text readable. Avoid overcrowding the design with too many elements or tiny fonts that disappear once printed.
Ask to see a proof of the overlay before the event. Check that the colors match your palette and that any logos or symbols appear sharp. A custom overlay can also feature a specific background color or pattern that ties into your table linens or invitation suite. Small details like these make the print feel intentional rather than generic.
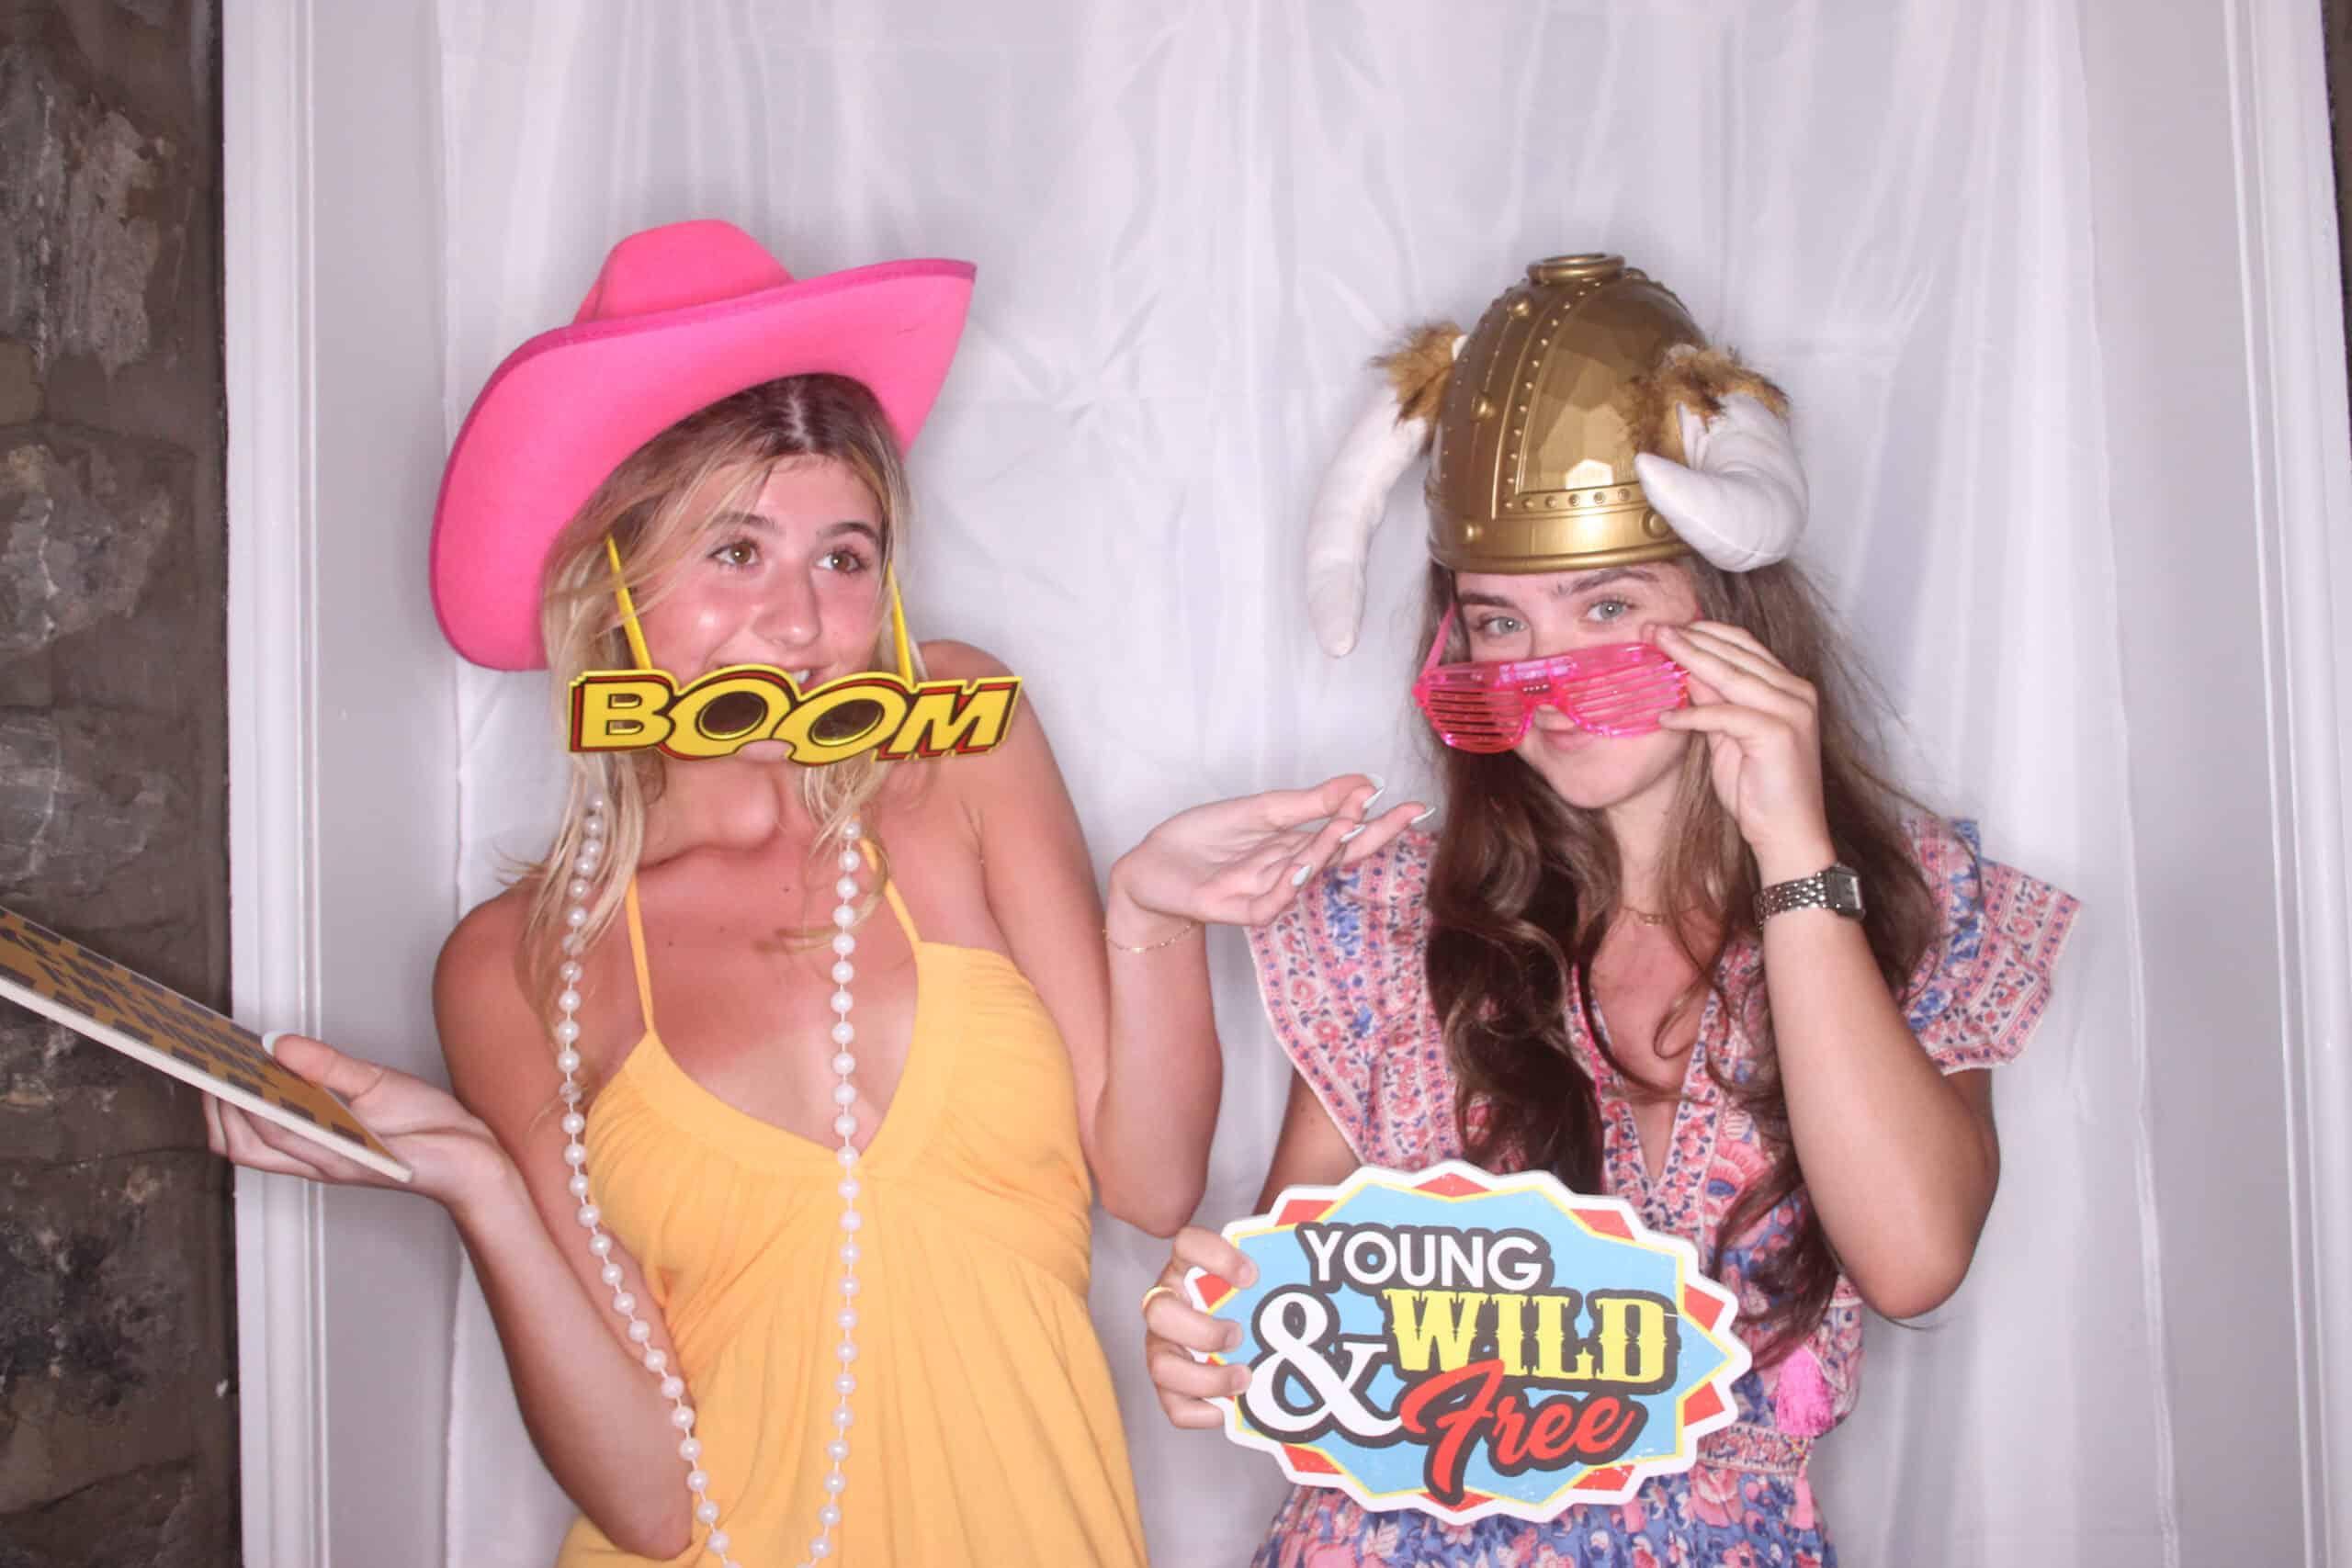
If your event includes a mitzvah photo booth, the overlay might include a Hebrew date or a meaningful phrase for the occasion. The same careful planning applies: verify the layout, test the colors, and confirm the provider can produce the overlay in time for the event.
Guest Book and Digital Sharing
A photo station can serve double duty as a guest book station. Many providers offer a scrapbook-style guest book where guests paste one copy of their print and write a note next to it. Decide ahead of time whether you want this option. If you do, order a guest book with enough pages to accommodate your expected guest count. Place the guest book near the photo area, and make sure a staff member or a designated friend reminds guests to fill in a page.
Digital sharing is another layer to plan. Some setups allow guests to text or email their photos to themselves during the event. This feature lets people post to social media immediately, which can create a fun real-time archive of the celebration. Discuss with your provider how digital files are delivered. Are they watermarked? Can guests access them after the event? Will you receive a full gallery of all images? Clarify these points before signing a contract so there are no surprises about file access later.
Guest Participation and the Flow of Formal Portraits
One common oversight is how the photo station interacts with the formal portrait schedule. If you have a dedicated time for family photos and bridal party shots, the photo station should not compete with that slot. Coordinate with your photographer to ensure the station’s operating hours do not overlap with moments when key people are needed elsewhere. For example, if the couple is taking portraits off-site before the reception, the station can run during that time without issue. But if formal portraits happen right after the ceremony, you might want the station to open later so guests are not pulled away from the photo area to pose for the group shots.
Encouraging guest participation often comes down to signage and staff presence. A small sign near the entrance of the reception or at the bar can direct people to the photo area. A friendly attendant who invites groups to step in makes a huge difference. Guests who are shy about posing may need a gentle nudge. The attendant can also manage the line, keep props organized, and ensure the equipment runs smoothly. A staffed station almost always sees higher usage than an unattended one.
Props and Backdrop Considerations
Props are a low-cost way to boost energy around the photo area. Simple items like hats, glasses, signs, and themed accessories encourage guests to be silly and creative. Keep the prop selection tied to your event theme. A beach wedding might include sunglasses and leis; a winter party could have scarves and faux snowflakes. For a mitzvah photo booth, props that reflect the celebrant’s hobbies or favorite colors work well. Avoid props that are too small or too delicate, they will disappear or break quickly.
The backdrop is the visual anchor. It should photograph well and complement the venue’s lighting. Sequin curtains, flower walls, and patterned fabric are popular choices. If your venue has low ceilings or limited space, a backdrop that hangs from a frame rather than a solid wall can be easier to place. Confirm with your provider the minimum space required for the setup. Measure the area at the venue if possible, and mark the floor so the setup team knows exactly where to go.
A note on lighting: the photo station should have consistent, even light. Avoid placing it under a direct spotlight that creates harsh shadows or near a window where natural light changes throughout the evening. A good provider brings their own lighting, but you can help by choosing a spot away from bright windows and high-traffic corridors.
Keepsake Print Quality and Quantities
The print quality matters because these photos end up on refrigerators, desks, and scrapbooks. Ask your provider about the paper stock and printer type used. Glossy finishes are standard, but some prefer a matte or satin finish for a more classic look. Request a sample print before the event to see the color accuracy and sharpness. If the custom overlay includes small text, check that it prints legibly at the chosen size.
Print quantities can be tricky. Ordering too few leaves guests disappointed; ordering too many wastes paper and money. A good rule of thumb is to plan for one print per guest, plus an extra 10 to 20 percent for groups that want multiple copies. If the station offers digital sharing as well, guests may take fewer prints because they can save the image on their phone. Discuss your expected guest count with the provider and ask how many prints they typically recommend for an event of that size.
Some providers include unlimited prints in their package. Others charge per print or per sheet. Clarify the pricing model before booking. If you are on a tight budget, consider a package that includes a set number of prints and then opens digital-only sharing once that limit is reached. This approach keeps costs predictable while still offering a great guest experience.
Coordinating with the Venue and Other Vendors
Your photo provider needs to know the venue’s rules. Some venues restrict where equipment can be placed, require a specific power source, or have noise ordinances that affect music or announcements near the station. Share the venue’s contact information with the provider so they can coordinate directly if needed. Also confirm that the venue allows the use of props like confetti or glitter, which can create cleanup issues.
Check whether the photo station will produce any sound effects or music. If the station has a built-in sound system, make sure the volume does not interfere with the DJ or band. A simple conversation with the entertainment team can prevent audio clashes. The photo station attendant should know when the DJ is making announcements so they can pause or lower volume during those moments.
If you are working with a wedding planner, ask them to include the photo station in their timeline and floor plan. The planner can ensure the setup is not blocking a fire exit, a catering station, or the dance floor. They can also remind guests about the photo area during their announcements, which boosts participation.
Final Walk-Through and Backup Plans
Schedule a final walk-through with your provider a week before the event. Confirm the delivery time, setup location, and any changes to the timeline. Review the custom overlay one last time to catch any typos or design issues. Confirm the guest book and any additional items like props or signage are packed and ready.
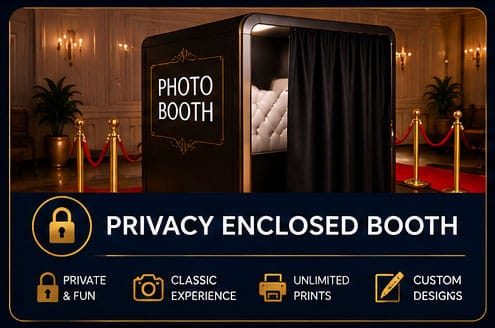
Ask about backup plans. What happens if the printer jams during the event? Does the provider carry spare equipment? A professional photo rental company like extremephotobooths.com typically brings backup printers and cameras to avoid downtime. Knowing that a contingency plan exists gives you peace of mind so you can enjoy the celebration without worrying about technical hiccups.
The day of the event, designate a point person from your family or wedding party to check in with the photo attendant once during the evening. This person can relay any feedback, such as a long line forming or a prop running low. Most issues are minor and can be resolved quickly if someone notices them early.
Tying It All Together
A well-planned photo experience adds energy and keepsakes that guests treasure for years. The key is to think through each step: timing, design, guest flow, and logistics. Start early, communicate clearly with all vendors, and verify every detail before the event. When the evening arrives, you can relax and enjoy watching your guests have fun. For more planning resources and ideas, you can explore the articles and galleries available at extremephotobooths.com. Their site offers practical advice that complements the checklist covered here.